Company logo
style_shimmer__DqGrW

Battlefield 6 Tank Guide: How to Dominate with Positioning, Loadouts, and Survival Tactics

By Ajay Viju  · December 26, 2025

Battlefield 6 Tank Guide: How to Dominate with Positioning, Loadouts, and Survival Tactics

Tanks in Battlefield 6 are unmatched in raw power, but also in how quickly they can be destroyed if you play them carelessly. A tank makes you the biggest threat on the map, which means every enemy player, engineer, and aircraft will be gunning for you. The difference between exploding in thirty seconds and surviving for ten minutes comes down to discipline, positioning, and smart loadout choices.

This guide breaks down how to survive longer, control the battlefield, and maximize your damage output in Battlefield 6.

A Detailed Guide About Tank In BF6

Master Positioning: The Golden Rule of Tanking

Battlefield 6 Tank Guide: How to Dominate with Positioning, Loadouts, and Survival Tactics

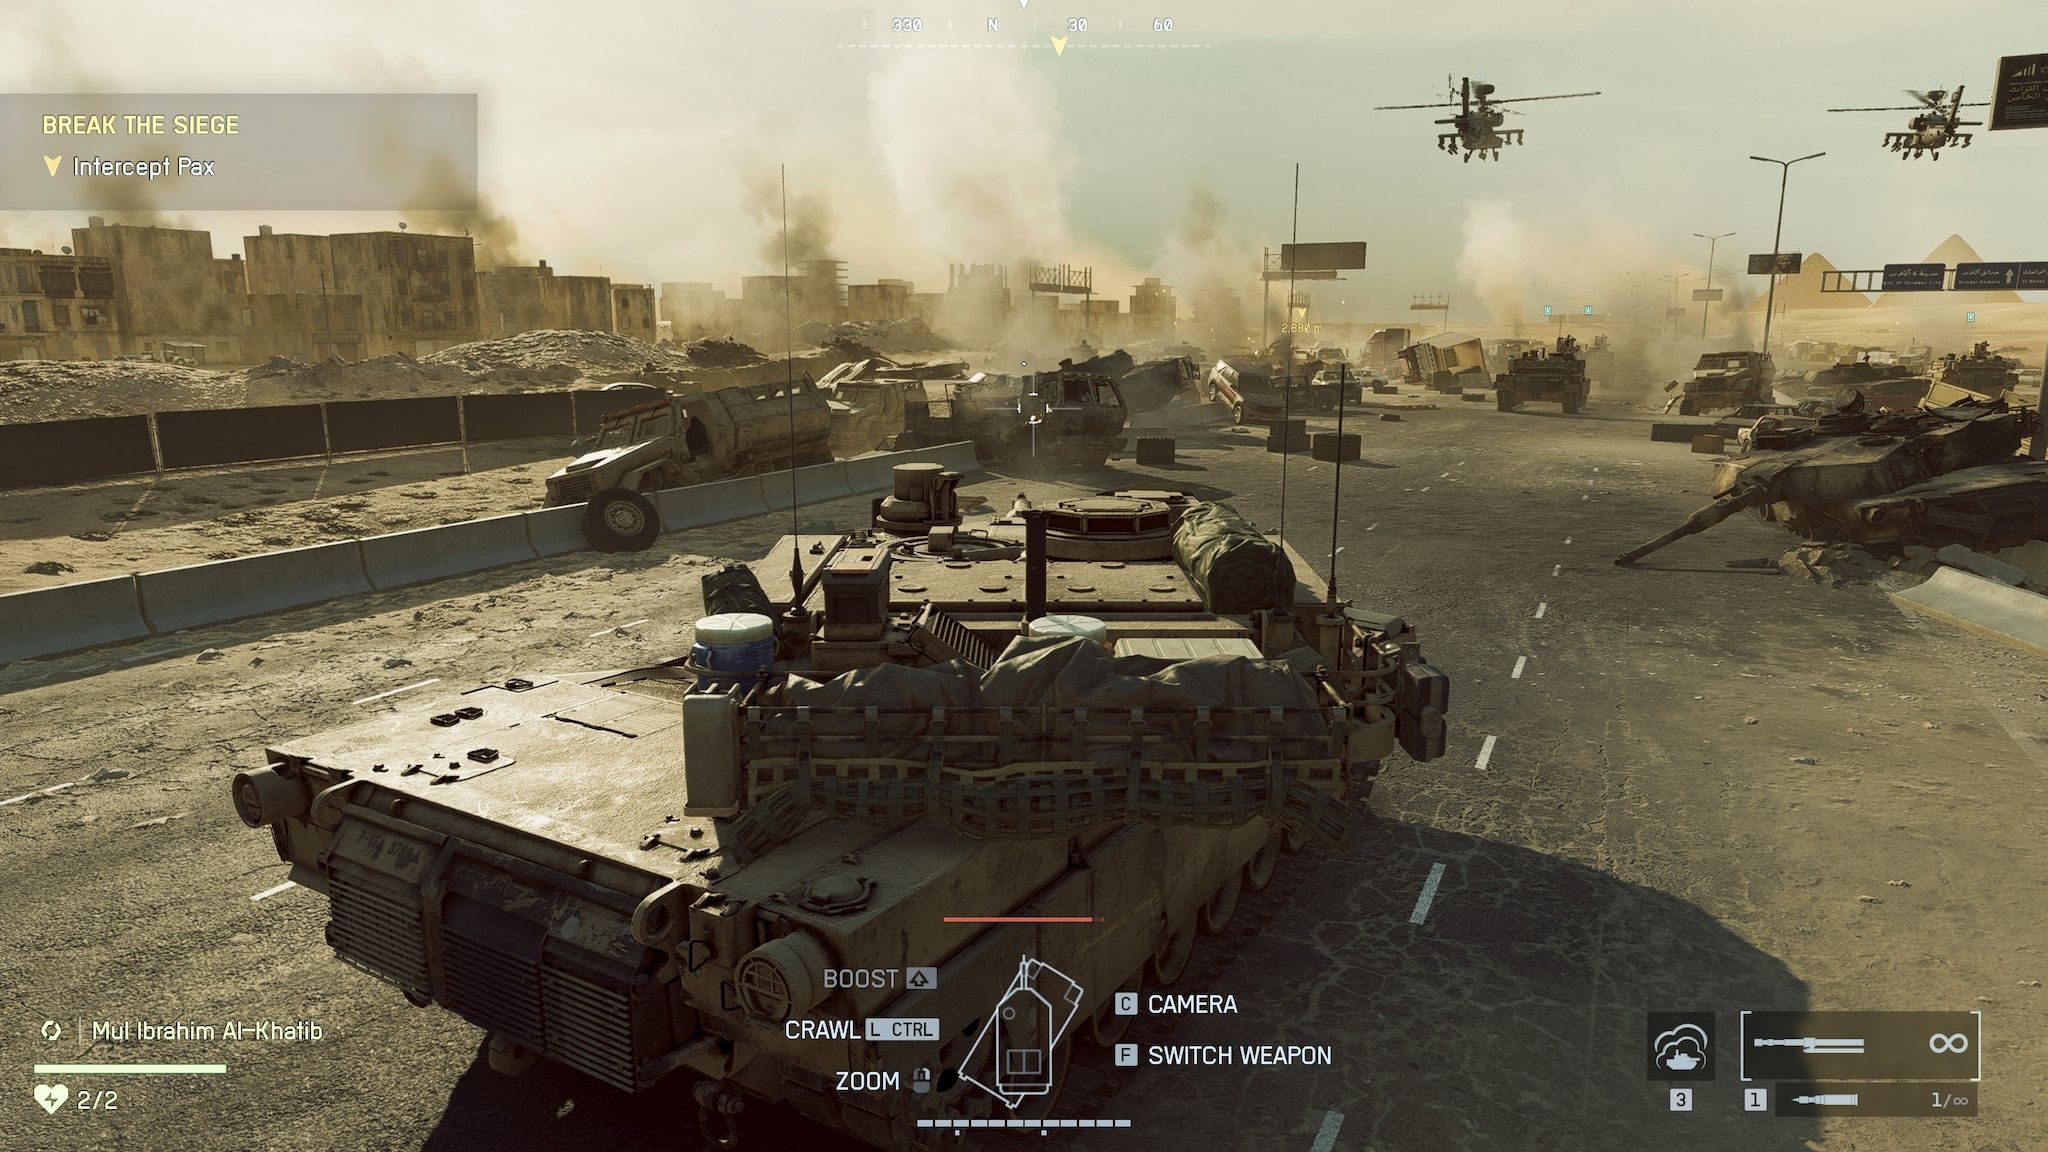
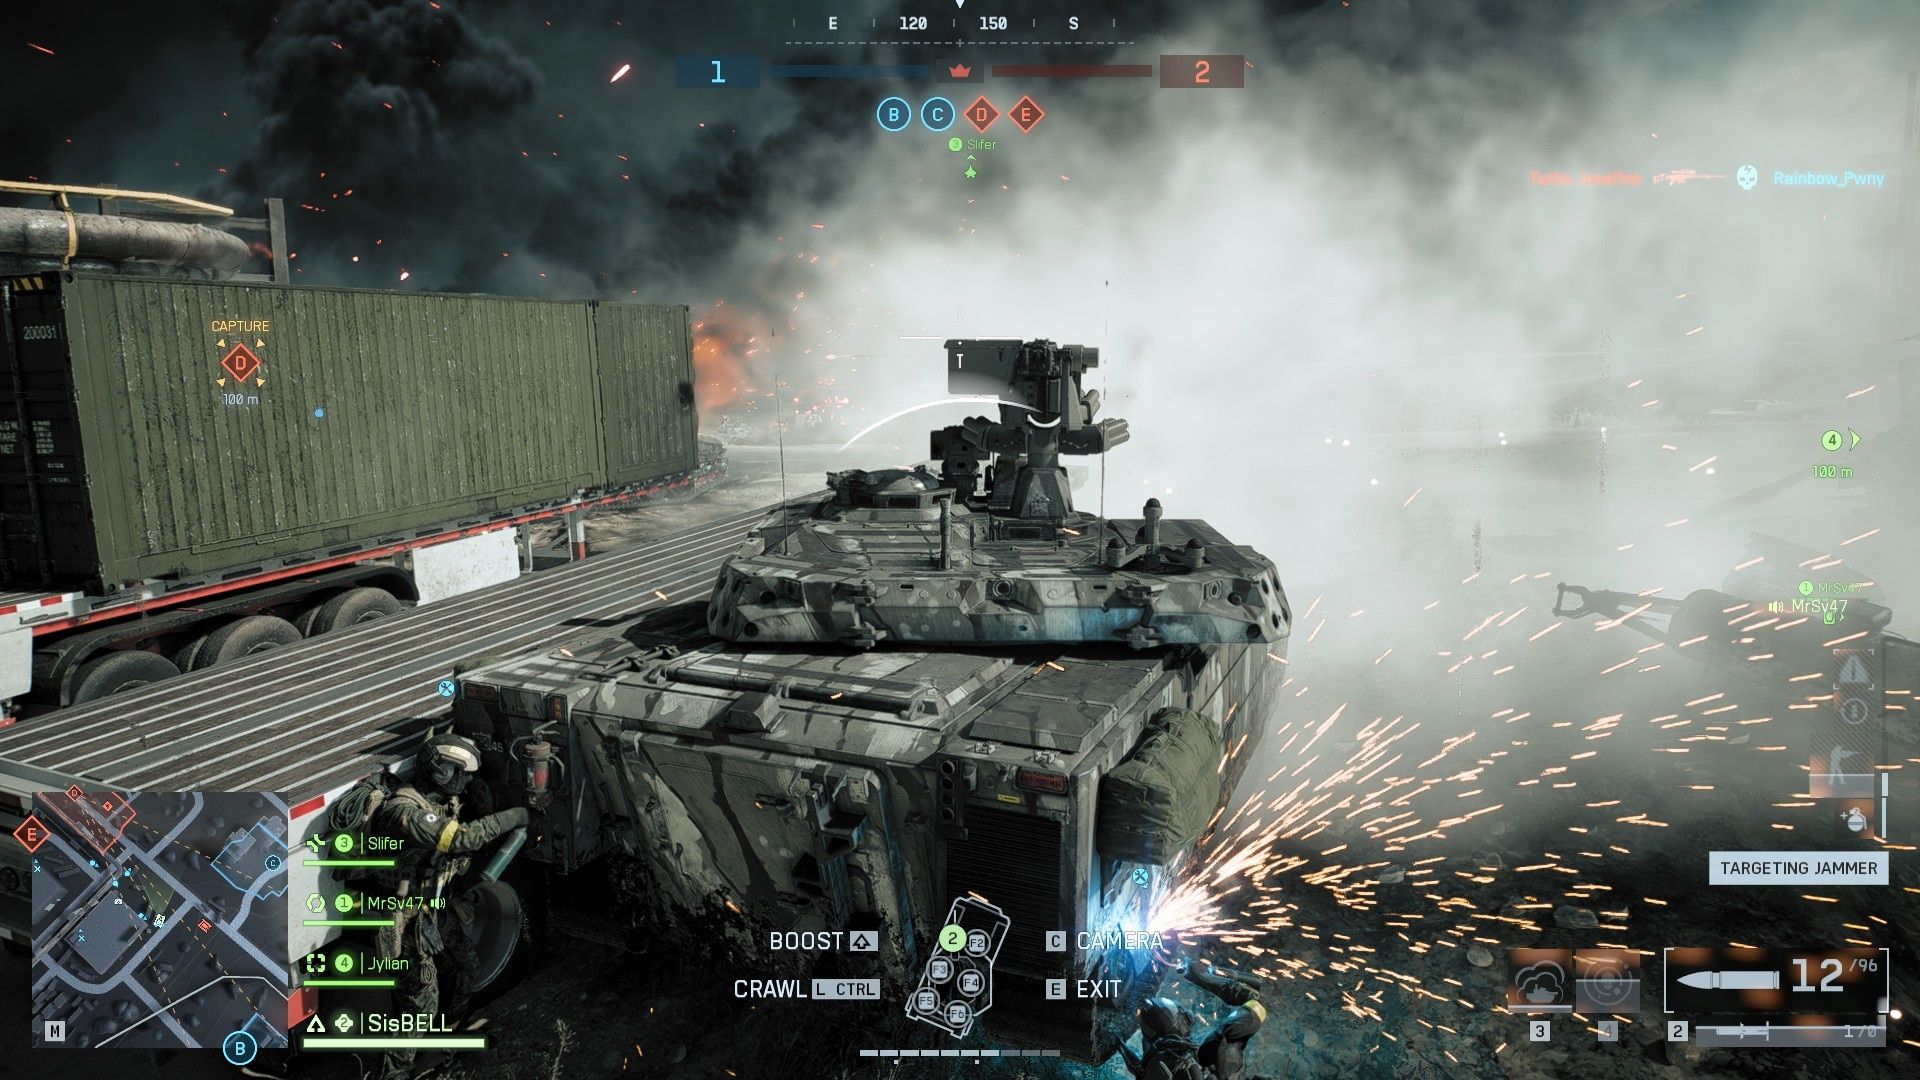
Positioning is the single most important skill for any tank operator. Tanks are strongest at medium to long ranges, where their armor and firepower can dominate. They’re weakest at close range, where engineers and light vehicles can circle you before you can rotate your turret.

Your goal is simple: never lead your infantry. Stay slightly behind or beside them. Let them clear rooftops and corners before you move up. In urban environments, this is critical — tanks can’t aim high enough to deal with threats above, leaving you exposed to C4 and rockets.

If you ever look left and right and see no allied soldiers, you’ve gone too far. Pull back and use terrain, cover, or allies to screen your flanks. Remember: a lone tank is a dead tank.

Clear Every Threat: Don’t Leave “Cockroaches” Behind

Battlefield 6 Tank Guide: How to Dominate with Positioning, Loadouts, and Survival Tactics

Even a single enemy infantryman left alive can spell disaster. In Battlefield 6, squads can spawn on surviving teammates. Missing one soldier means four engineers can suddenly appear behind you with rocket launchers.

❤️My Favourites
|Terms, Privacy, & other links
Company logo
search button
🔢Number Games
🔫Shooting Games
🏰Tower Defense Games
😎Casual Games
💄Girl Games
🧠Logic Games
🏎️Racing Games
🧩Puzzle Games
🏀Sports Games
🤪Crazy Games
Play GamesView Allview all arrow
Other products from us
other products logo

Quizzopfor brilliant quizzes!

link arrow
other products logo

Astrozopfor daily astrology!

link arrow
other products logo

Criczopfor everything cricket!

link arrow
other products logo

Feedzopfor latest news!

link arrow

Think of every soldier as a potential spawn beacon — if they’re alive, they’re a threat. Work with your infantry to clear every building, rooftop, and alley before advancing. Tanks provide fire support, not solo assault power. Your job is to suppress, destroy, and support — not capture points alone.

Know When to Fall Back and Repair

Good tankers know when to fight. Great tankers know when to retreat. The rule: pull back and repair when you hit 50% health or lower. This keeps you alive far longer than trying to brute force your way through.

When retreating, always reverse out of danger. Tanks take the least damage from the front, more from the sides, and the most from the rear. By backing up, you keep your strongest armor facing the enemy and minimize your exposure. It might feel awkward at first, but driving backward saves lives — literally.

Never bail out of your tank when it’s low on health. If you eject too early, the enemy can capture your tank and turn it against your team. Always retreat far enough to repair safely, and never abandon your vehicle near enemy lines.

Choosing the Right Tank Loadout

Battlefield 6 Tank Guide: How to Dominate with Positioning, Loadouts, and Survival Tactics

Battlefield 6 allows you to equip two primary shells and one secondary weapon (called a tertiary). This flexibility means you should specialize rather than pick multi-purpose ammo.

Best Primary Shells:

  • High Explosive (HE): Great splash damage, perfect for clearing infantry and soft targets.
  • Armor-Piercing (AP): High penetration, ideal for enemy vehicles and tanks.

Avoid multi-purpose shells — they’re average at everything and great at nothing. Since you can now carry both HE and AP rounds, there’s no reason to compromise.

Secondary Weapons:
Experiment with your preferred style. Machine guns and grenade launchers are both viable. If you maintain proper positioning, you’ll rarely need to rely on them to win fights.

Recommended Upgrades:

  • Projectile Intercept: Temporarily makes you invulnerable — crucial during heavy assaults.
  • Enhanced Loading: Boosts reload speed and overall damage output.

Every upgrade has its advantages, so test different combinations until you find what fits your playstyle.

Gunner and IFV Tips

Your gunner’s weapon selection depends on your coordination and map type. The grenade launcher, light machine gun, and heavy machine gun all perform well. Choose one based on how aggressive your playstyle is.

For gunner upgrades:

  • Smoke Wall: Use it to break the line of sight or escape ambushes.
  • Countermeasures: Destroys mines and C4, perfect for urban or choke-point maps.

Infantry Fighting Vehicles (IFVs) are lighter but deadlier against troops. Load them with high-explosive rounds for maximum infantry kills. Add air-guided missiles if you want a hybrid anti-armor role. Remember, IFVs lack the tank’s active protection system, so play more cautiously and use cover whenever possible.

Related: BF6 vs BF4 vs BF5: Battfield Games Compared and Differences Explored

Final Thoughts

Battlefield 6 Tank Guide: How to Dominate with Positioning, Loadouts, and Survival Tactics
  • Stay with your infantry. Never push alone.
  • Reverse to retreat. Keep your armor front-facing under fire.
  • Clear every soldier. One survivor means an entire squad spawns.
  • Use both AP and HE shells. Specialize instead of going hybrid.
  • Repair early. Staying alive is more valuable than one extra kill.

Mastering these fundamentals will turn you from a fragile metal target into a rolling fortress. The best tankers don’t rely on brute strength — they rely on discipline, awareness, and control.

Position smart, retreat intelligently, and you’ll start dominating the battlefield one explosion at a time.

Check out more Battlefield blogs from Gamezop!

  • Battlefield 6 Weapons Guide: The Best Guns, Attachments, and Strategies for Dominating Combat
  • How to Reduce Lag, Improve FPS & Fix Connection Issues in BF6

thumbs-up-iconMore in blogs


Wuthering Waves Mornye Ascension Materials

Wuthering Waves Mornye Ascension Materials

Ajay Viju · March 23, 2026

Chisa: Team Composition & Synergy Guide

Chisa: Team Composition & Synergy Guide

Ajay Viju · March 23, 2026

Lupa Ascension Materials and Farming Guide in Wuthering Waves

Lupa Ascension Materials and Farming Guide in Wuthering Waves

Ajay Viju · March 23, 2026

Best Support Characters In Wuthering Waves

Best Support Characters In Wuthering Waves

Ajay Viju · March 23, 2026

Wuthering Waves: Mornye Build Guide

Wuthering Waves: Mornye Build Guide

Ajay Viju · March 23, 2026

Terms of UsePrivacy PolicyAboutJobsPartner With Us

Property ID : cfuucl7YgA

Advertisement
© 2026 Advergame Technologies Pvt. Ltd. ("ATPL"). Gamezop ® & Quizzop ® are registered trademarks of ATPL.